Showing posts with label terri wlaschin. Show all posts

Tuesday, February 5, 2019

January 2019 ABS Challenge - Mother Nature Light and Dark

I love challenges.  They get my juices going, sometimes in surprising directions.  I had been working with more tribal color beads and styles when I saw Heather Power's lovely illustrations depicting woman draped in necklace garlands of leaves, and butterflies and flowers.

 To say I was enchanted is putting it mildly.  It inspired me to think of a new skinner blend (for me), mixing shades of burgandy and gold to create rich earthy colors which I then used to create a large focal flower.

I wanted the flower to be more than a normal centerpiece.  I wanted it to draw the eye through the necklace which got me thinking of creating my own version of a garland.  I blended some poly clay greens to create leaves but, after baking, felt they still were not dark enough so I used alcohol inks to add gradation.

The leaves and flower sit on a base that is dark bronzy gold blending into a deep deep brown black.  I finished it with an organic flower toggle clasp.

Here tis.


Next, I began work on creating a similar necklace in the lighter palette.  I opted for a beachier island color variation than the illustration posted and I wanted at least one critter in this necklace.  The skinner blend I created was using peacock blue and various greens I blended together and mixed in white to get a lighter shade.  To get a really light shade, after I skinner blended the colors, I added a really thin sheet of white over the blended colors and ran that through the blender a few times.  Did that once more to get the lighter brighter beachy color I wanted.  

 I think the dragonflies of Key West decided they should be the critter because a swarm of them flew right by my ear the day before I started this piece.  I never had that happen before!  To appease the dragonfly gods, I added one dragonfly to this piece.  It's sitting on a pod with a water hole in the middle.  At least that is what I envision - why not? 

 Lastly, I created an organic toggle clasp to tie the piece togther.   To tone the colors down a bit and give the piece a more weathered look, I antiqued most of the beads with a bronze metallic paint.  


This is a similar necklace I created but did not submit.


Here are Heather's wonderful illustrations alongside my necklaces.


 And here is the link to the Monthly Challenge Page where you can check out other artist's work and enter yourself!  There are still a few days left.  Get to it!!!  


Tuesday, January 29, 2019

Push It! Face Molds and Mica and other pretty things

I had the face mold sitting in my drawer for some time now.  I never felt ready for it.  It might have been I was working a lot in bright colors and it just didn't go with the palettes. 

Two nights ago, just for the hell of it, I mixed almost equal portions of Premo gold and Premo black and came up with a wonderful metallic bronze color.  I needed something cool to do with it.  Out came the face mold.  I thought at first I would just make a cabachon and use it in a bead embroidery project.

But, I have no discipline.  I decided to make beads with the left over clay and then I just couldn't let it sit there, or worse yet, put it in a drawer for later use, or even worse, sell it!  I figured I could always make another but you know there is no guarantee it would be as cool.

Once I committed, I was all in.  Here is the result.


Friday, October 19, 2018

Etsy mini -- You CAN still Add it to your website or blog -Here's How

Since I opened my new shop Dancing Jewelry Poet, I went through all the machinations of setting up the shop and then tried to add it to my blog.  The only problem was I didn't see anything on the etsy site that addressed how to do it.  There used to be an "etsy mini" icon you could just click on to get the java script.  No more.

In my hunt to learn if I just couldn't find it or if it was no longer possible, I am happy to report I found a way to do it.  Here's how:

Here's the javascript you need to use.  Where I have it highlighted, you need to replace that number with YOUR etsy shop ID number.


<script src="https://www.etsy.com/assets/js/etsy_mini_shop.js" type="text/javascript"></script><script type="text/javascript">new Etsy.Mini(5639759,'gallery',3,6,1,'https://www.etsy.com');</script>


Here is the link to the instructions for finding your etsy shop number:


If you are adding to blogger, go to design/layout.  Click add gadget and scroll/select HTML/Javascript.   A box will come up allowing you to add a title and paste the javascript.

  I was able to add both my shops to my blog.  See on right hand side.  

Jewelry displays are my best friends

I confess that sometimes I spend days scouring the web looking for jewelry displays and display ideas.  I love all the various options and the DIY items people create out of seemingly endless materials - cardboard, wood, resin, paper, found items, items from dumpster diving.  

I have had some far out displays in my time including driftwood I picked up from a friend.  My biggest supplier of displays nowadays is Nile Corporation.  I just have found them to be less expensive and I love the linen display choices they have that fit varying budgets.  

I got a mannequin head I named Bella from ebay and I especially love her.  she's sophisticated but not overly snobbish. She does, after all, have a small nick on her nose from a bad fall a couple seasons ago.  I am not sure if I could paint her but I might consider it one day as she is showing a tiny bit of age.


I also recently acquired a dress form I wanted for longer and/or larger pieces.  Great for pictures and shows.  I got that from Supply Store Warehouse and I got a peg board from the same place.  


Then there are the assortment of bust sizes.  The linen ones are from Nile Corporation.  The wood one is from etsy.  I got plain wood ones and painted them. The mini busts are from etsy here.


And the hand I got from etsy I believe.  


  Earring Racks I got on etsy here.


Cuff rack I got here.  She appears to be out of the one I got.


That's about all for today.


Thursday, October 18, 2018

Is Cork Fabric the New Leather?

I saw it in the local fabric store and immediately had to have it.  I love the look of leather but not the guilty feel of using it to make my jewelry.  It's called cork fabric and I was immediately impressed with how sophisticated and leather like it looks and feels.

My mission was to find if it performed well in making bead embroidered items.  I am here to tell you it does!

And here's proof.


Here's what it looks like when you buy it.  The feel is really nice.  At least the stuff I got at my local fabric store in Key West has a wonderful feel.  I googled it and got this pic from online at Sassafras Lane.


Sunday, October 14, 2018

The Road to a Show

I haven't done a show in a couple years now.  I forgot how much work it is.  Not so much the jewelry making for me as I have a lot of inventory.

 It's everything else. I decided to go for a new look in my display style.  Instead of funky, I am going cleaner, more sophisticated.

I even have a new show name and etsy shop --- Dancing Jewelry Poet.    It seemed like a good idea at the time.  Everyone in Key West who knows me knows I like to dance.  And I like to think of my work as wearable poetry.  So, well that's the name I came up with.

 I googled it AFTER I set up my new shop and then saw lots of jewelry featuring dancing shapes.   Maybe I will rethink that name down the road but not until my 250 business cards are almost gone.  ha ha.  I still have my Shanty Chic Beads etsy shop which is for my poly clay beads and jewelry.

Anyway, here's my show checklist:
  1. Make sure my square works (it wasn't  up to date - had to order a new one).
  2. Find the right tables and displays - ordering more if I need them.
  3. Get pricing tags
  4. Price all my items
  5. Get gift boxes to fit large necklaces and my larger cuffs.  Order gift bags
  6. Practice setting up so I know what risers and displays I need.  Order what I don't have.  In this case, I had a neighbor build me displays and risers and ordered necklace busts.
  7. Take pictures of my setup.  I bring these to the show to help me set up.
  8. Order fitted tablecloths.
  9. Get cash to make change for cash customers.
  10. Get storage containers to haul my stuff.
  11. Order new business cards.
  12. Make sure I have a checkout table and chair for myself.
  13. Make sure my tent is in working order.  Tent weights/bungee cords ready.
  14. Paint all my new stands and risers.  This was a lot of work but worth it.
  15. Get a battery charger to enhance the life of my battery so my phone works through the show
  16. Check printer and get inks if needed to print pictures of setup.

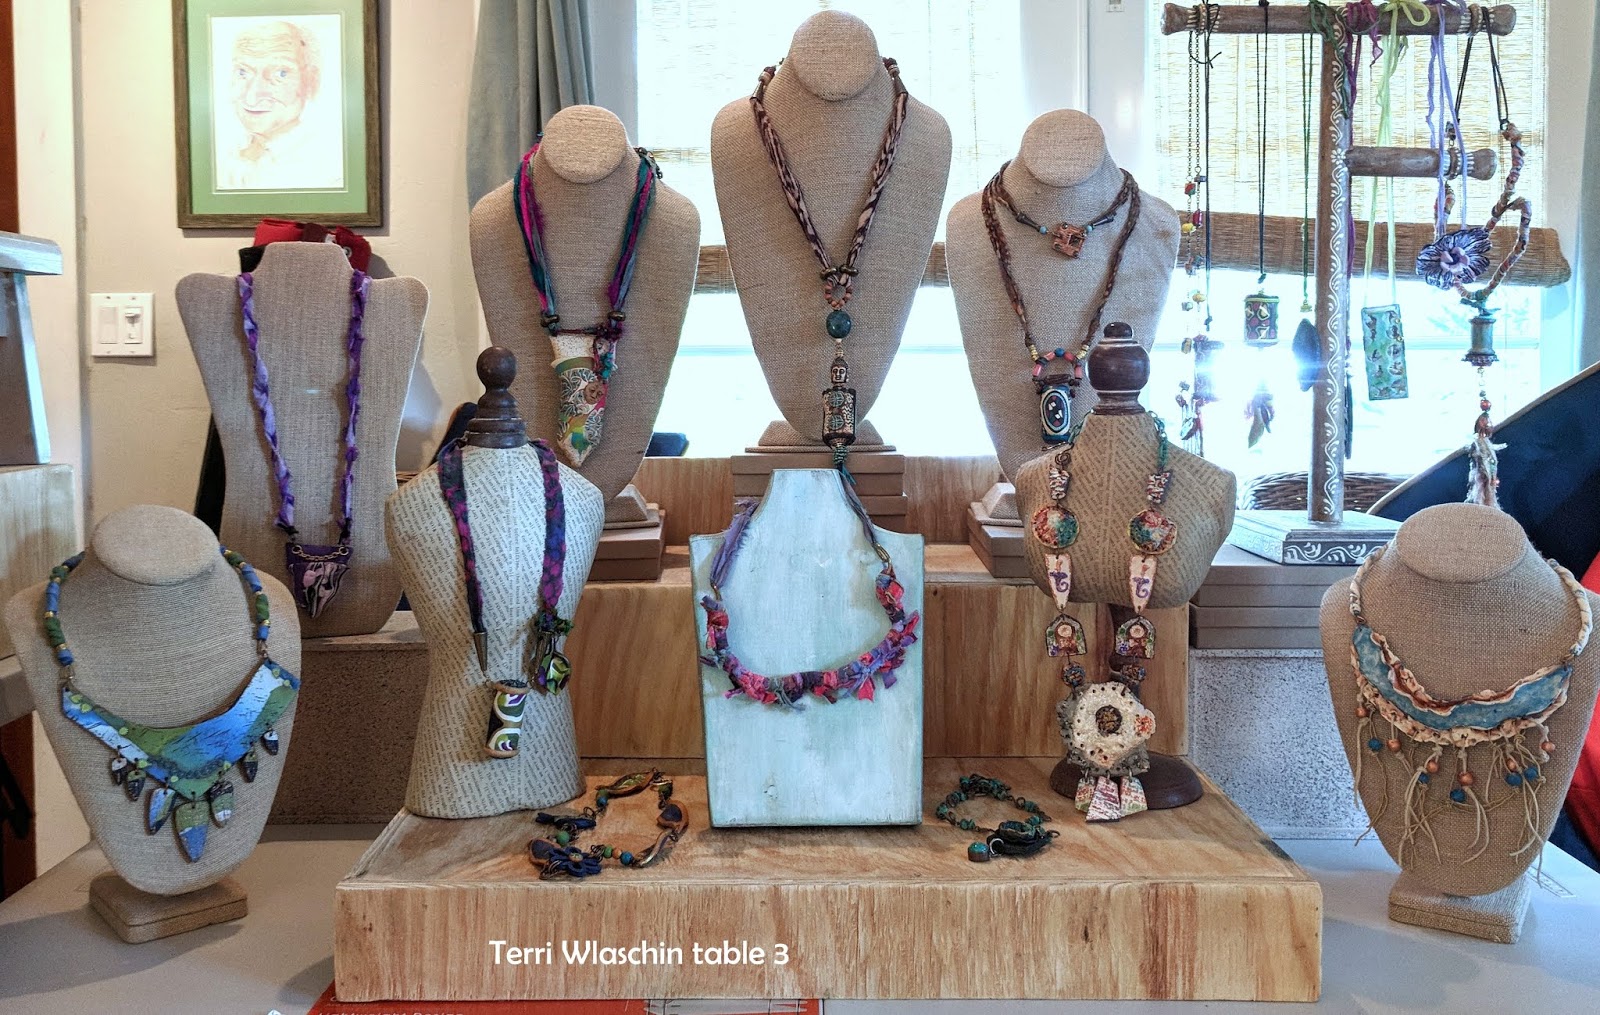
Here was my practice setup before my new displays were painted. I have 4 tables of jewelry - a mix of high end bead embroidered pieces (table 1) and lesser priced bead woven/bead embroidered and poly clay pieces.  Because these were shot indoors, they are not the best pics but I take them to help me remember how to set up my table.


This is my high end jewelry table. 
I ordered plain Kraft large size jewelry boxes but decided to paint them.  This was fun at first but took a lot longer than I thought it would. Especially the ones that I used alcohol inks on.  Here are some examples:


The alcohol ink boxes took long to make and even using a straw to blow the ink around I couldn't get the smell of the alcohol out of my head.  I will save the technique for another post.

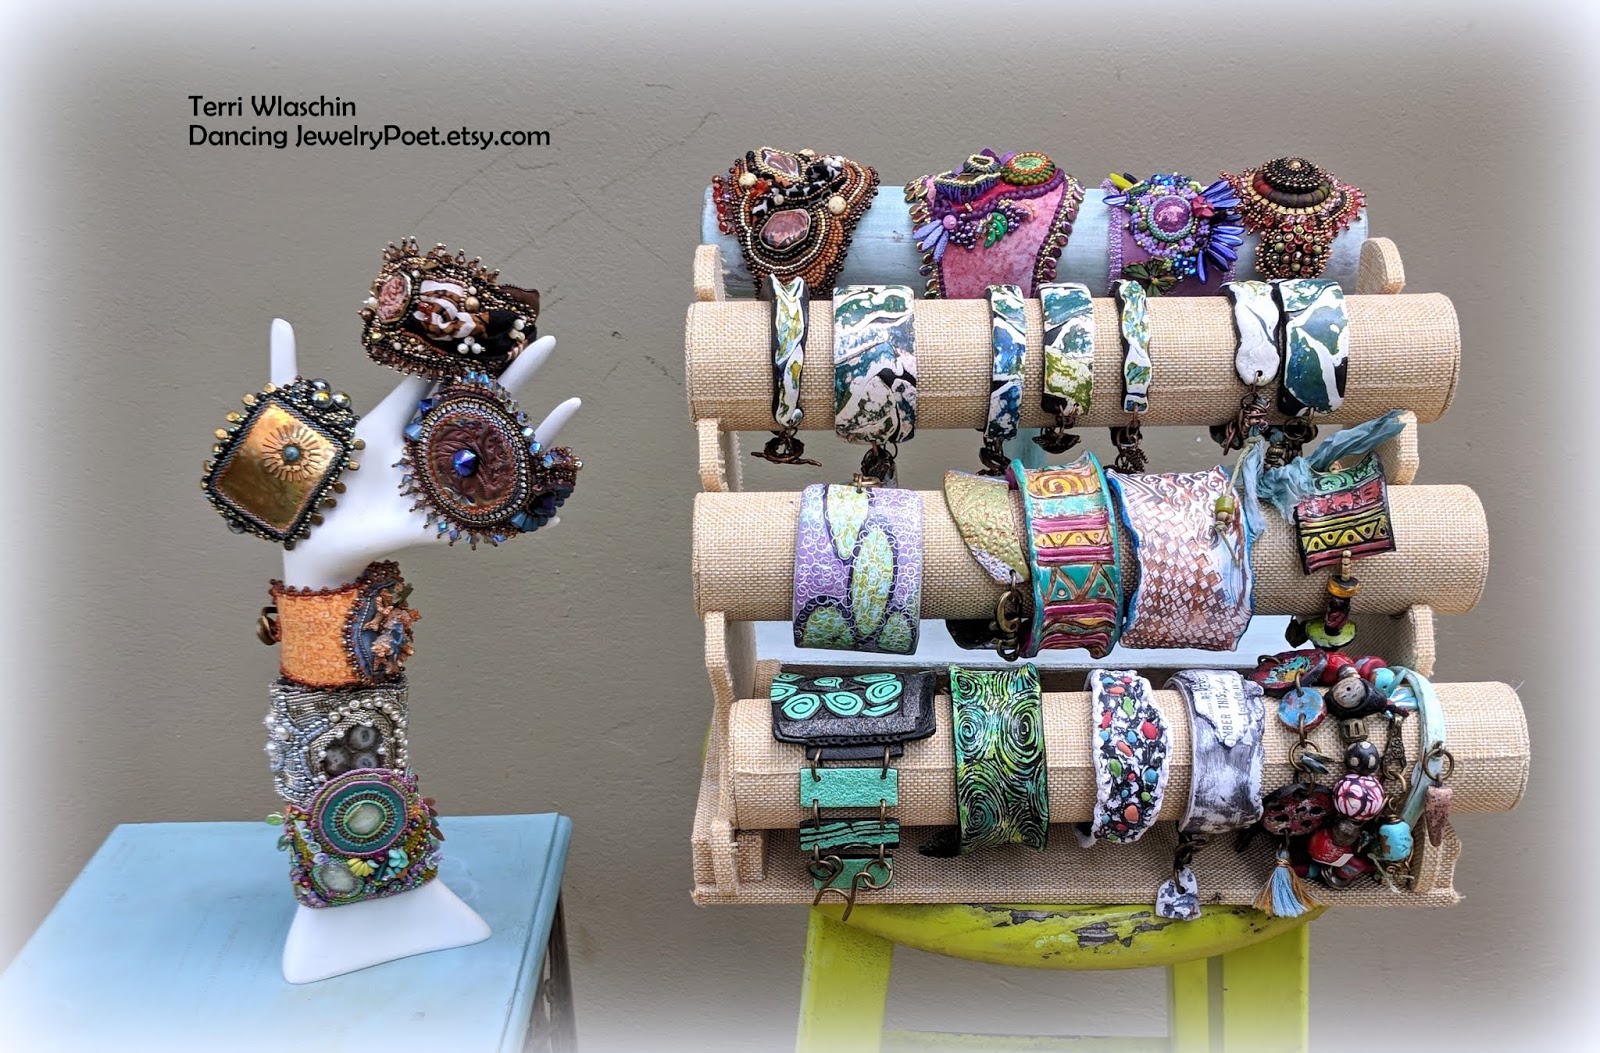
 Here's a closeup of some of the high end pieces.


Monday, June 4, 2018

A two for One Necklace - creating detachable parts

After I created this necklace, I wondered if it would be better plain or with the leaves added. My sister-in-law suggested I find a way to make the leaves detachable.  I had one of those,"now why didn't I think of that" moments? And away I went.

I strung the leaves and other beads on silk cord and attached lobster claw clasps so I could attach/detach at will.  Here is the result.


Saturday, May 26, 2018

Painted Ladies Cuff

I recently joined the Painted Ladies Group on Facebook.  I did not even know it existed until a couple days ago when I stumbled upon it.  I just love Brenda Hicks-Schalon's mix of ceramic cabachons of various "painted ladies."

It was hard to decide which painted ladies I wanted.  I have about 5 of her cabs left which I will post as soon as I take good pictures of them.  I ended up choosing one to add into a bead embroidered cuff I was making.

Here tis...


Thursday, May 24, 2018

Paint Pour - what to do with Leftover Strips

You've done your paint pour and let it dry.  You cut out the beads you wanted.  Now there are leftover painted strips of raw clay from the cut outs.  What do you do?

I don't like to leave anything painted sit in storage long.  I have not had good success in the past with that.  I also think it's risky to roll it up into a ball or other shaped bead  and bake it as I read that acrylic paint, if inside poly clay, can form weak spots as it sweats.

What I did instead was take the leftover sheet of paint pour raw clay strips and press some parts together to minimize space between them and cut off other parts so I could build on the design.  Then, I carefully placed the design on a backing sheet of black raw clay and kept adding strips to fill in the spaces on the sheet.  Once I had them all on the backing sheet to my satisfaction, I rolled that sheet on the thickest setting on my pasta machine and tried next setting and settled on the fourth setting to smooth the design in to my satisfaction.

Next I ran a raw clay sheet of conditioned black clay through the thickest setting and pressed with my hands the paint pour sheet and plain black sheet of clay together.

 I studied the design pattern trying to figure what type of jewelry item it would best serve.  I decided on bangles/cuff bracelets.  The pattern was larger so it would not have been as fab in earrings or even a pendant in my opinion.   I formed cuffs in different sizes and styles and baked them.

 After baking, I added another thin backing and mica powdered some of them.  I also antiqued the outside of two of them.  Here are the results.  P.S.  sorry I don't have any pics of design build stages.  I just get too into it to stop. he he


These were antiqued